How to Use Wax Melts in 5 Easy Steps...
How to use Wax Melts?
Have you just purchased your wax melts and not sure how to use them? Here is our guide on ‘How to Use Wax Melts’ to get you started so that you can make the most of your wax melts.
Wax Melts are a fantastic way to improve the ambiance of any room. They create the most gorgeous aromas which will make any room smell amazing.
At Soapfullness we LOVE hand-making your soy wax melts. We put a lot of love, dedication and care into producing handmade products for you,your friends and family to love and enjoy.
They are great value for money. One whole Wax Melt Bar can last at least 90 hours and for £3.50, which we don’t believe is bad value at all.
How to use Wax Melts in 5 Simple Steps
1. Select your Wax Melts
The first point of call in ‘how to use wax melts’ is to think about the aromas you love and search our wax melt range.
Our Wax Melt range is rather divine. Our Wax Melts are very affordable, highly scented, long lasting (up to 90 hours approx) and made from Natural Soy Wax. What is not to love?!
With a wide range of handmade soy wax melts, we hope we have something for everyone to love and this range will continue to grow with us.
Come and check our our beautiful wax melt collection
2. Choose your Wax Melt Burner
You will be able to choose between Electric or Tealight wax melt burners.
3. Heat Source for your Wax Melt Burner
Make sure that you have a heat source whether it is electric (for electric wax burners) or non-scented tealights with a maximum 4 hour burn time and matches (for the ceramic wax melt burners).
Please ensure that your wax melt burner is in a safe spot always from children, pets, net curtains or anything that could catch fire. Please ensure that your wax melt burner is on a safe and secure non slip surface.
4. Snap Two squares off your Wax Melt Bar...
We recommend using two squares of your wax melts which can be used for up to 4 hours at a time.
Please only use 4 hour unscented tealights as this is the safest way to enjoy wax melts.
Remember that Wax Melts can be remelted. The two squares that you have just snapped off can be enjoyed multiple times for at least 12 hours if you remelt them.
5. The easy wax melt clean up....
When it comes to ‘how to use wax melts’ this aspect is often overlooked or the incorrect advice is given.
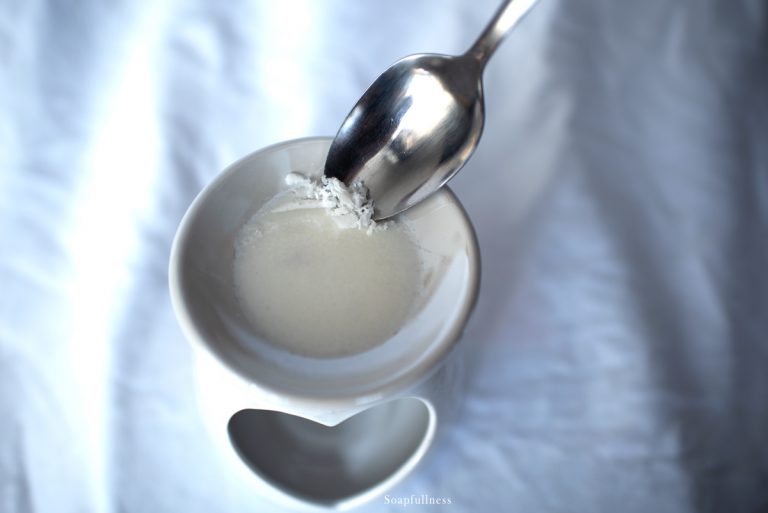
You want to remove the waxy residue by heating it to a low temperature so that the wax is soft but not hot, then soak the wax melt dish in warm soapy water (please use a separate sponge to your food sponges due as you do not want to ingest any fragrance). Then your Wax Melt Burner will be ready to be reused again.
Please do not put the wax melt burner in the freezer as this is highly likely to shorten the lifespan of your wax melt burner and is likely to cause stress cracks due to the temperate shock.
Continue Reading for our in-depth guide of How to use Wax Melts….
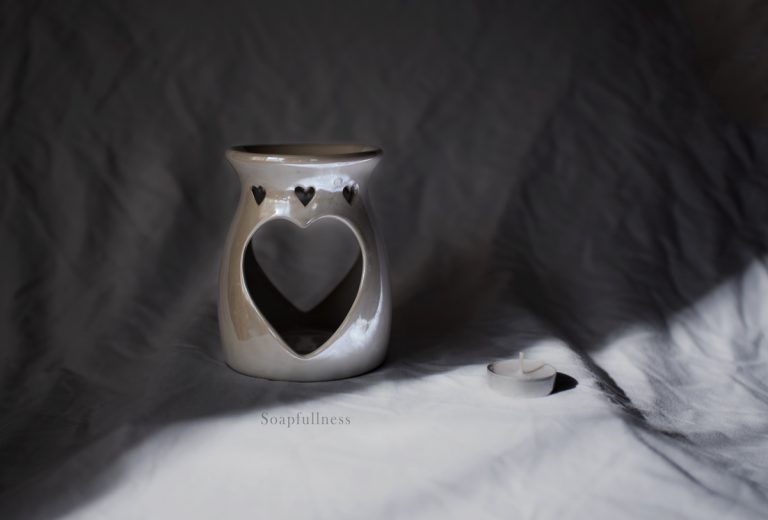
1. Select the Best Wax Melt Aromas for you....
How to use Wax Melts?
Wax Melts are very affordable, which means you can test out a variety of aromas and narrow down your favourites. Have you ever walked into a room and gone ‘oh that smells amazing?’
At Soapfullness, that is our aim with our Wax Melts and Self-Care Candles.
We want to create products which simply enhance any room that they are in and make you feel good and this is why we have created our ‘How to use wax melts’ guide.
Smell can have a profound effect on how we process our environment alongside our emotions and moods.
We care greatly about self-care. Our environment is often an aspect that is overlooked when it comes to self-care. That is why we care about home fragrance. It is easy to use, affordable and fairly stress free! All bonus points when it comes to self-care.
Wax Melts are about:
♥ Comfort
♥ Relaxation
♥ Unwinding
♥ Making a space smell amazing
♥ Making you fee good
We want you to be able to get the best wax melts and know how to use Wax Melts.
We have an ever-growing wax melt collection, which means that the more you support us the more aromas and products that we can offer you.
We know that we all have different tastes and preferences, some people prefer a sweet smell such as the English Pear and Freesia and others prefers deep aromas such as Snow Fairy.
Seasons can also have a big impact on the type of aroma/ home fragrance that we want. Do you want deep rich tones in the hot summer months or would you prefer something light and refreshing?
Everyone is different and that is why we have a variety of wax melts to chose from which we will continue to grow. View our Wax Melt range here…
We want to make sure that you get the best out of your wax melts, so please read along on ‘How to use Wax Melts’.
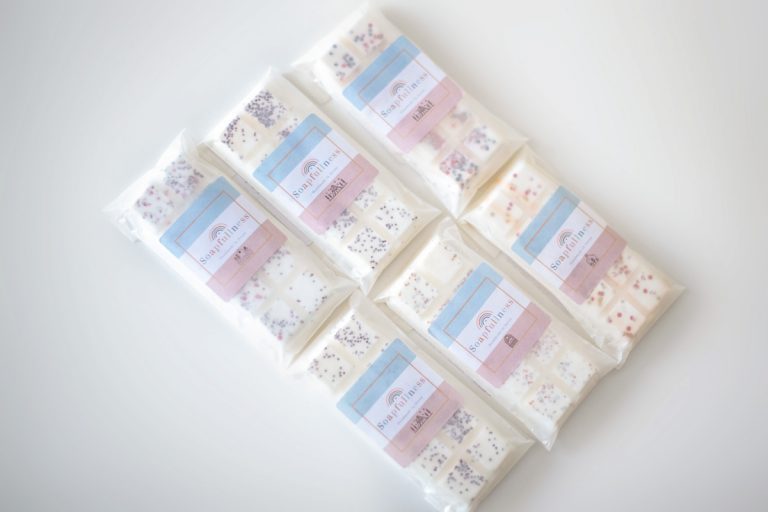
2. Ensure that you have a Wax Melt Burner | Wax Melt Warmer
How to use Wax Melts?
Now you have chosen your wax melts, you need to think about how to use wax melts and how you are going to safely melt your wax melts. You have two options on how to safely heat your Wax Melts:
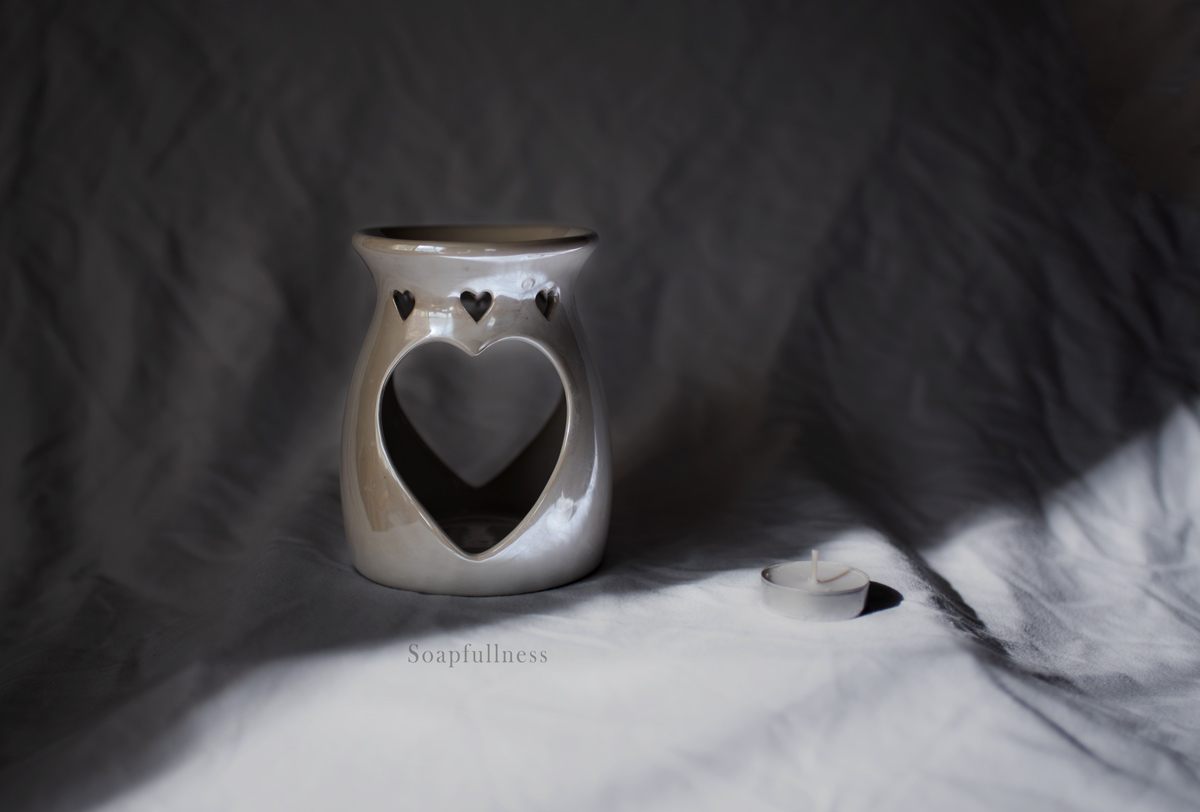
♥ Ceramic Wax Melt Burner – which uses tea lights as a heat source to melt your wax melts
♥ Electric Wax Melt Burners – which use mains power to melt your wax melts.
For us, we love a Wax burner with a tealight. The smell of a match lighting and then watching the flame of the tealight candle flicker away as it surrounds us in beautiful aromas is very therapeutic.
However, if you live in a busy household or if you don’t want a naked flame an Electric Wax Melt Burner is the way to go. You just simply plug into your mains power and enjoy the aromas.
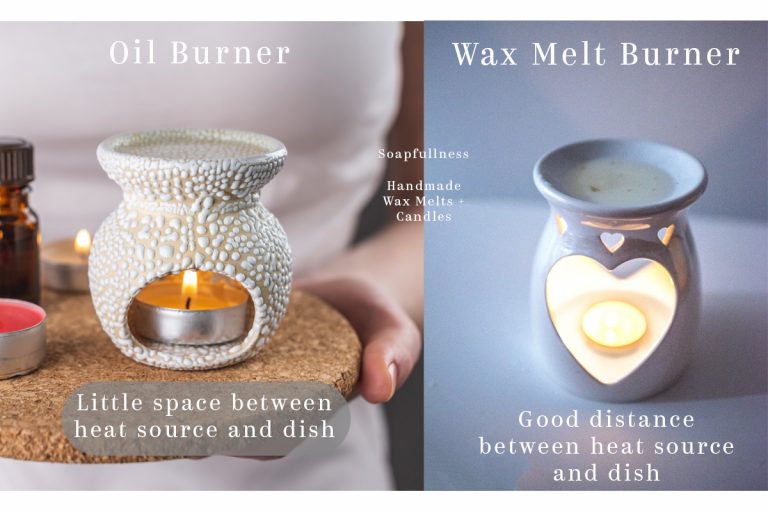
Please never use an oil burner to melt your wax melts. This is because oil dish is too near too the heat source and has real potential for a fire to occur if the wax accidentally dripped onto the naked tealight flame. It is NOT worth the risk.
Oil burners will also heat the wax melts too fast and the fragrance will burn off too fast, shortening the lifespan of your wax melts. Something we don’t want you to do when it come to ‘How to use Wax Melts’.
3. Heat Source for your Wax Melts
How to use Wax Melts?
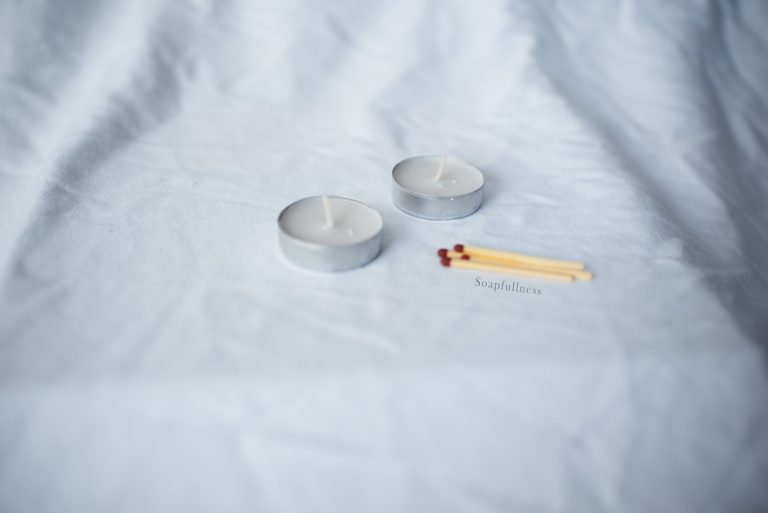
When it comes to ‘How to use Wax melts’ and if you opt for a ceramic burners, then we recommend non-scented tealights that burn for a maximum of 4 hours only.
This is a real safety precaution when it comes to ‘how to use wax melts’ as using any tealights that exceed this 4 hour period will put you wax melt burner under stress and could cause stress fractures and breakages, making it unsafe to use as it could be a fire hazard.
This gives you plenty of time to enjoy and safely use your wax melts without forgetting about them or burning the fragrance off too fast.
Please make sure that you have something available to light your candles with such as matches or an electric lighter. There is nothing more frustrating than when you go to sit down to relax and then you realise the you don’t have what you need!
Please never leave a burning candle unattended and ensure that your wax melt burner is on a heat resistant and safe surface away from anything that could catch fire (including curtains and nets!).
Please also ensure that your wax burners are far out of the reach of Children and Pets! Here is a link to our candle safety guide.
Electric Wax Melt burners are also a great option to consider. They don’t have a naked flame, but they do need an electric point and a safe place to use them away from animals, children and anything which can catch fire.
Electric Wax Melt burners come in a variety of wattage. The higher the wattage provide more heat and in tune the quicker the wax melt melts.
This does mean that the wax melts won’t last as long because the fragrance gets burnt off faster. However, the high wattage burners are ideal for larger rooms.
4. How Many Squares do I use from my Wax Melt Snap Bar?
How to use Wax Melts?
One question which frequently pops up when it comes to asking ‘How to use wax melts is ‘how many wax melts I use?’.
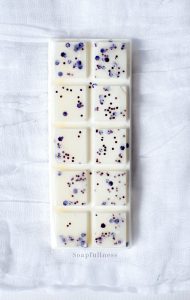
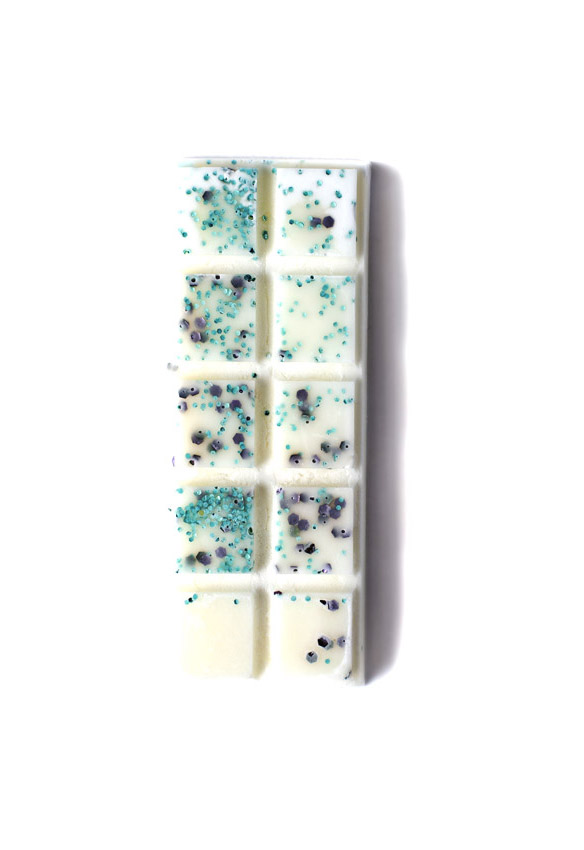
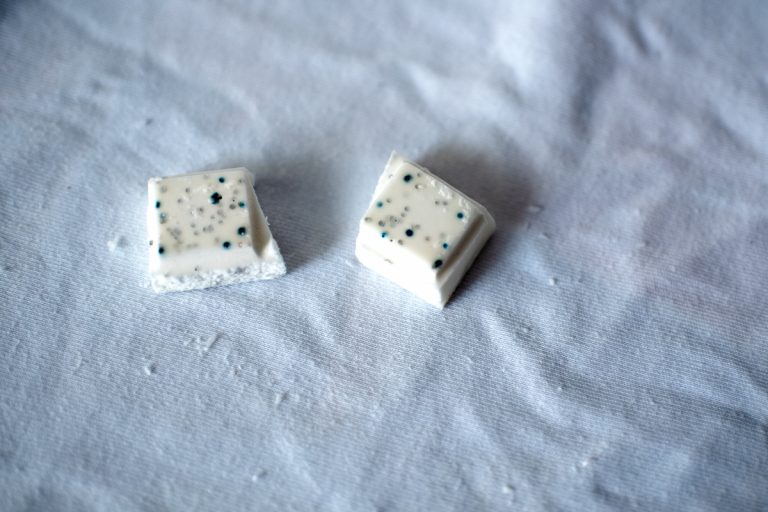
We recommend snapping off two squares from your wax melt bar and place them in the wax melt burner dish at the top.
The tealight candle goes below to heat up the wax melt dish. These two wax melt squares can provide home fragrance for around 12 hours when remelted.
We don’t recommend burning wax for more than 4 hours in one go, but you can let it cool and resolidify and then remelt/reuse. When the fragrance isn’t as strong, it’s probably time to remove the old wax and put in two new wax melt squares.
This helps ensure that your fragrance doesn’t get burnt too quickly and helps to ensure that the wax melt burner isn’t exposed to constant high temperatures which could cause hairline stress cracks.
How to use Wax Melts
5. Remove the Wax from the Wax Burner
How to use Wax Melts?
Once you come to the end use of your wax melt bar, we recommend removing residue wax and soaking the wax melt burner dish in hot soapy water.
This way you will remove the residue from the old wax melts and make way for the most gorgeous aromas from your new wax melts.
Please always check your wax melt burner for hairline cracks. If you do find a crack, please do stop using and replace immediately.
We hope that you have found how to use wax melts useful.
Related Soapfullness Article:
♥ Wax Melts Handmade in Devon
♥ Made with 100% Natural Soy Wax for a no toxic, strong scent throwing, clean burn
♥ Our Wax Melts can last up to 90 hours (approx.)
♥At Soapfullness we do our upmost to use recycled and recyclable materials for our packaging.
